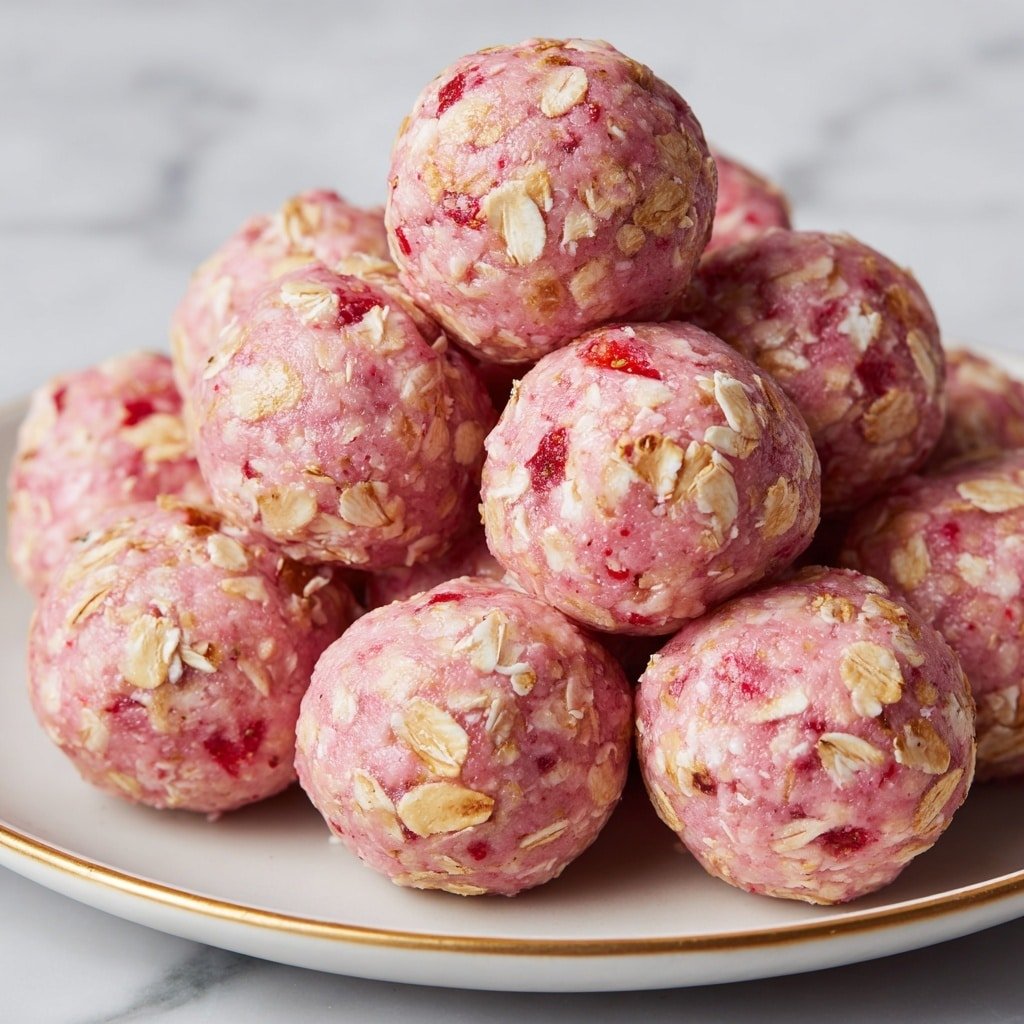
If you're in the mood for a quick, wholesome snack that feels like a treat, this Strawberry Protein Balls Recipe fits the bill perfectly. These no-bake little bites combine the cozy flavors of strawberry cheesecake with a nutritious boost, making them ideal for a midday pick-me-up or a post-workout nibble. I love how simple they are to whip up, and you'll appreciate having a stash ready whenever hunger strikes.
Jump to:
Why You'll Make This on Repeat
I find these Strawberry Protein Balls truly hit the sweet spot between indulgence and practicality. Whether you want a nutritious snack for a busy day or a sweet little reward that keeps you on track, these balls deliver flavor and texture without fuss.
- Reliable Texture: Soft and chewy with just a hint of crunch from the oats, these balls hold their shape while remaining tender.
- Balanced, Cozy Flavor: The combo of vanilla, cream cheese, and strawberry makes every bite feel like a mini dessert.
- Pantry-Friendly: Made mostly from staples like oats, almond flour, and protein powder, plus easily stored freeze-dried strawberries.
- Weeknight Simple: No baking required and minimal prep time means you'll have these ready in under 15 minutes.
Ingredient Highlights

Choosing quality ingredients makes all the difference in your Strawberry Protein Balls Recipe. Using fresh or good-quality pantry staples lets the flavors shine without overpowering the natural strawberry notes.
- Rolled Oats: Opt for old-fashioned rolled oats over instant for better texture and chew.
- Almond Flour: Blanched almond flour is best for a smooth, moist bite without grittiness.
- Vanilla Protein Powder: Pick a flavorless or mild vanilla protein to keep the cheesecake vibe gentle and creamy.
- Cream Cheese: Soften it at room temperature for effortless blending with the dry ingredients.
- Freeze-Dried Strawberries: These add concentrated strawberry flavor and crunch without moisture.
- Honey or Maple Syrup: Use your favorite natural sweetener for subtle, balanced sweetness.
- Milk: Just enough to bring the mixture together - I like almond milk, but any kind works well.

Quick Note: Exact measurements and step visuals are in the printable recipe card at the bottom, so keep scrolling to save it!
Step-by-Step for Strawberry Protein Balls Recipe
Step 1 - Prep & Season
Start by gathering your dry ingredients: rolled oats, almond flour, and vanilla protein powder. Mixing these first helps distribute the protein and oats evenly, which makes rolling the balls easier later. When you add the cream cheese, make sure it's softened - this prevents clumps and allows for a glossy, smooth dough. The freeze-dried strawberries should be crushed into small pieces so their flavor permeates every bite without big chunks. Combine everything in a large bowl until you see a rough, slightly sticky mixture.
Step 2 - Build Flavor
This is where the magic happens - adding the honey or maple syrup along with the vanilla extract. These sweet, aromatic elements round out the tangy cream cheese and strawberry perfectly. Stir well, then test the dough's moisture. If it feels dry or crumbly, add a splash of milk one tablespoon at a time. The goal is a dough that just holds together when pressed, not too wet or sticky. This balance ensures that your Strawberry Protein Balls Recipe forms easily and won't fall apart later.
Step 3 - Finish for Best Texture
Once your mixture is ready, scoop out about a tablespoon of dough and roll it between your palms into neat 1-inch balls. Lining them up on parchment paper keeps things tidy. Now, pop the plate into the fridge for at least 30 minutes. This chilling step is key - it firms up the cream cheese and solidifies the protein balls, giving you that satisfying bite. Avoid skipping this or leaving them out at room temp for too long; otherwise, they may become soft and lose their shape.
Kitchen Notes I Rely On
From my experience, a few details really elevate this Strawberry Protein Balls Recipe from good to great. Don't rush the chilling step or skimp on crushing the freeze-dried strawberries - it transforms the texture and flavor.
- Doneness Cue: When chilled, the balls should be firm but yielding, not rock solid or sticky to the touch.
- Temperature Trick: Keep ingredients at room temperature before mixing for easier blending.
- Make-Ahead Move: These balls hold beautifully in the fridge for up to a week-perfect for meal prep.
- Skip This Pitfall: Avoid adding too much milk; you want a dough that's just sticky enough to hold together.
Serving & Sides

Finishing Touches
I like to dust my Strawberry Protein Balls lightly with a bit more crushed freeze-dried strawberries or a sprinkle of shredded coconut for a little sparkle and texture contrast. A tiny drizzle of melted dark chocolate is also a wonderful finishing touch that enhances their dessert feel while still being healthful.
Pairs Nicely With
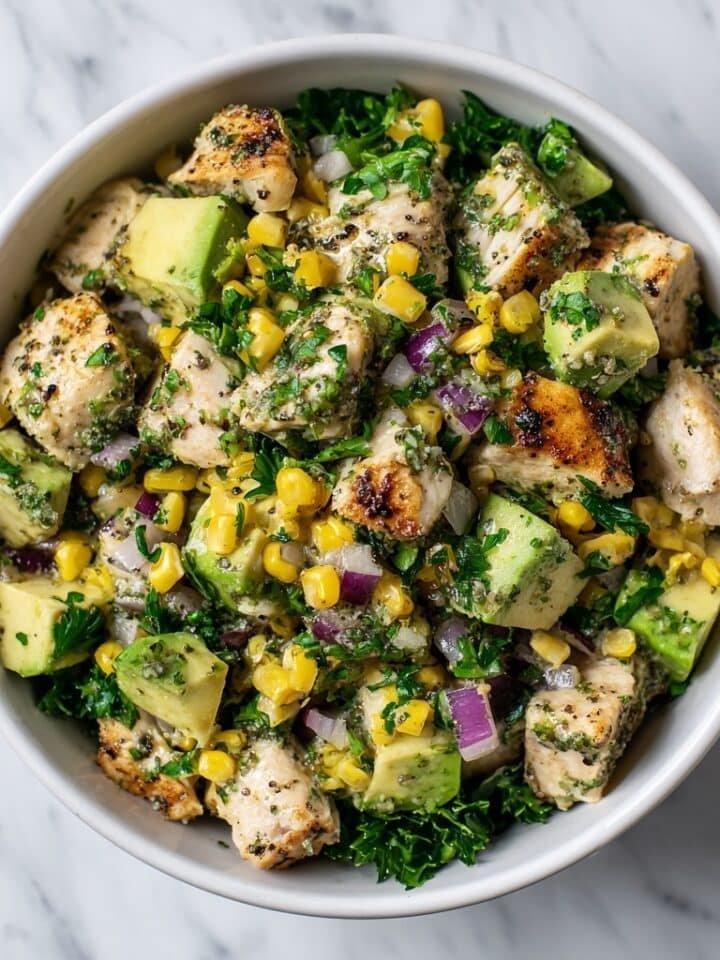
These protein balls partner well with a crisp green salad or a small cup of Greek yogurt if you want a more filling snack. I've also enjoyed them alongside fresh fruit slices to add juiciness and brightness to your snack plate.
Simple Plating Upgrades
For a casual get-together, arrange your strawberry protein balls on a pretty plate lined with fresh mint leaves or edible flowers. I've found that stacking them in a jar or glass with layers of whole freeze-dried strawberries creates a charming look for gifting or afternoon pick-me-ups.
Make-Ahead & Storage
Storing Leftovers
Store your Strawberry Protein Balls in an airtight container in the fridge to keep them fresh. They'll stay perfectly tasty for up to seven days, retaining their soft, creamy texture without drying out.
Freezer Tips
These balls freeze beautifully; just arrange them in a single layer on a parchment-lined tray to freeze individually before transferring to a freezer-safe bag or container. When you're ready to enjoy, thaw them in the fridge overnight. They'll hold their shape and flavor well, but for best texture, avoid microwaving straight from frozen.
Reheating Strawberry Protein Balls Recipe Without Drying Out
If you want to warm your Strawberry Protein Balls gently, the oven or air fryer works better than the microwave. Heat at a low temperature (around 275°F/135°C) for 5-7 minutes, just long enough to soften the cream cheese without drying the balls. If microwaving, use short bursts of 10-15 seconds and cover with a damp paper towel to keep moisture in.
Frequently Asked Questions
You can substitute cream cheese with Greek yogurt or a nut butter, but the texture and tang will slightly differ. Cream cheese gives that classic cheesecake feel that's hard to replicate.
Freeze-dried strawberries are key for a concentrated flavor without moisture. You could try finely chopped fresh strawberries but expect softer balls and a shorter shelf life.
Start with the recommended amount of honey or maple syrup, then taste the mixture before rolling. You can add a bit more if you prefer sweeter bites.
Absolutely! Just adjust the rolling size to your preference. Smaller balls make perfect snack bites; larger ones work well as quick breakfast options.
Final Thoughts
Every time I make this Strawberry Protein Balls Recipe, I'm reminded how a few simple ingredients can come together to create something both nourishing and satisfying. Whether you're meal prepping for the busy week or want a guilt-free sweet fix, these protein balls have become one of my favorite go-to snacks. I hope you enjoy making and sharing them just as much as I do!
PrintPrintable Recipe
Strawberry Protein Balls Recipe

Strawberry Cheesecake Protein Balls are a delicious and nutritious no-bake snack combining the flavors of creamy cheesecake with fresh strawberries. These protein-packed bites use wholesome ingredients like rolled oats, almond flour, and vanilla protein powder, enhanced with crushed freeze-dried strawberries and a touch of honey for natural sweetness. Perfectly portioned for on-the-go energy, they are easy to prepare and ideal for a quick breakfast, post-workout snack, or healthy treat.
- Prep Time: 10 minutes
- Cook Time: 0 minutes
- Total Time: 10 minutes
- Yield: 12 protein balls
- Category: Snack
- Method: No-Cook
- Cuisine: American
- Diet: Low Lactose
Ingredients
Dry Ingredients
- ½ cup rolled oats
- 1 cup almond flour
- 2 scoops vanilla protein powder
- ¼ cup freeze-dried strawberries (crushed)
Wet Ingredients
- ¼ cup cream cheese (softened)
- 2 tablespoon honey or maple syrup
- 1 teaspoon vanilla extract
- 1-2 tablespoon milk (any kind, as needed)
Instructions
- Combine dry ingredients: In a large bowl, thoroughly mix the rolled oats, almond flour, and vanilla protein powder to ensure even distribution of flavors and textures.
- Add wet ingredients: Incorporate the softened cream cheese, crushed freeze-dried strawberries, honey, and vanilla extract into the dry mixture. Stir well until all components are evenly combined, forming a dough-like consistency.
- Adjust dough consistency: If the mixture feels too dry and crumbly, gradually add 1 to 2 tablespoons of milk, one tablespoon at a time, stirring after each addition until the dough becomes moldable and can hold its shape.
- Shape the balls: Roll the mixture into uniform 1-inch diameter balls using your hands. Place each ball onto a parchment-lined plate to prevent sticking.
- Chill: Refrigerate the protein balls for at least 30 minutes to firm up, which helps them retain their shape and enhances the flavors.
- Store and enjoy: Consume immediately after chilling or store them in an airtight container in the refrigerator for up to one week to maintain freshness.
Notes
- For a vegan option, substitute cream cheese with a dairy-free alternative and use maple syrup instead of honey.
- If the mixture is too sticky, add a bit more almond flour or rolled oats to balance the texture.
- These protein balls can be frozen for up to 3 months; thaw in the refrigerator before eating.
- Feel free to swap vanilla protein powder with your preferred flavor or plant-based protein powder.


Leave a Reply