If you're looking for a charming and delicious treat to celebrate love or just add a little sweetness to any day, this Mini Valentine's Cheesecakes Recipe is exactly the answer. Perfect for sharing or savoring solo, these bite-sized delights are easy to make and wonderfully festive. I like to whip them up for Valentine's Day, but honestly, they brighten any occasion with their creamy texture and pretty rosy hue.

Jump to:
Why You'll Make This on Repeat
This Mini Valentine's Cheesecakes Recipe strikes the balance between indulgent and approachable. It manages to feel special without stress-ideal for impressing guests or brightening your own day.
- Reliable Texture: Smooth, creamy filling with just enough jiggle guarantees consistent results every time.
- Balanced, Cozy Flavor: The classic tang of cream cheese pairs beautifully with the chocolatey crisp Oreo crust.
- Pantry-Friendly: Uses simple, easily found ingredients you probably have on hand already.
- Weeknight Simple: Minimal prep and a quick bake make these perfect for an accessible homemade dessert.
Ingredient Highlights

For the best Mini Valentine's Cheesecakes Recipe, focus on selecting quality ingredients that combine well and give you that lovely creamy texture and rich flavor that cheesecake lovers crave.
- Oreos: Use regular or original Oreos, pulsed finely so the crust compresses into a sturdy, buttery base.
- Cream Cheese: Softened but not melted cream cheese ensures a silky batter without lumps.
- Butter: Melted real butter binds the crust and adds richness-don't skip it for texture!
- Red Food Coloring: A few drops to achieve that iconic Valentine's Day pink tone; add gradually to control vibrancy.

Quick Note: Exact measurements and full baking details are available in the printable recipe card at the bottom for easy reference.
Step-by-Step for Mini Valentine's Cheesecakes Recipe
Step 1 - Prep & Season
Start by preheating your oven to 350°F (175°C) and lining a cupcake pan with paper liners. Pulse the Oreos in a food processor until you get fine crumbs-this helps press the crust in tightly, so it holds together when baked. Mix these crumbs with your melted butter until they feel glossy and crumbly. Firmly press the crust mixture into the bottoms of the lined muffin cups; you want an even, compact base here. Don't press too hard to avoid a dense crust-just enough so it holds its shape after baking.
Step 2 - Build Flavor
In a separate bowl, beat softened cream cheese and sugar until you achieve a perfectly smooth, creamy consistency - no lumps, that's key. Then add the eggs one by one, mixing gently after each addition. Stir in the vanilla extract for a warm, aromatic note, and finally add red food coloring a few drops at a time until you get that sweet pink hue that makes these mini cheesecakes so charming. Pour or spoon the cheesecake batter evenly over the Oreo crusts in each liner.
Step 3 - Finish for Best Texture
Bake the mini cheesecakes for about 15-17 minutes. You'll want to watch closely and learn to spot the perfect doneness: the edges should look set, but the very center will have a slight jiggle, like gelatin. This ensures a creamy, luscious texture instead of dryness. After baking, let them cool for a bit in the pan, then transfer to the fridge to chill until fully set, usually at least a few hours. This chilling step is what firms them up for that ideal "bite" you'll love.
Kitchen Notes I Rely On
From experience, it's all about watching the tiny jiggle and not overbaking. The batter continues to cook slightly while cooling, so aim to pull cheesecakes early rather than late. Also, letting cream cheese come fully to room temperature makes mixing smooth and effortless every time.
- Doneness Cue: Edges firm but center with a gentle wobble.
- Temperature Trick: Use room temp cream cheese to prevent lumps and overmixing.
- Make-Ahead Move: Chill overnight to deepen flavors and set texture.
- Skip This Pitfall: Don't press crust too hard-loose is crumbly, firm is perfect.
Serving & Sides

Finishing Touches
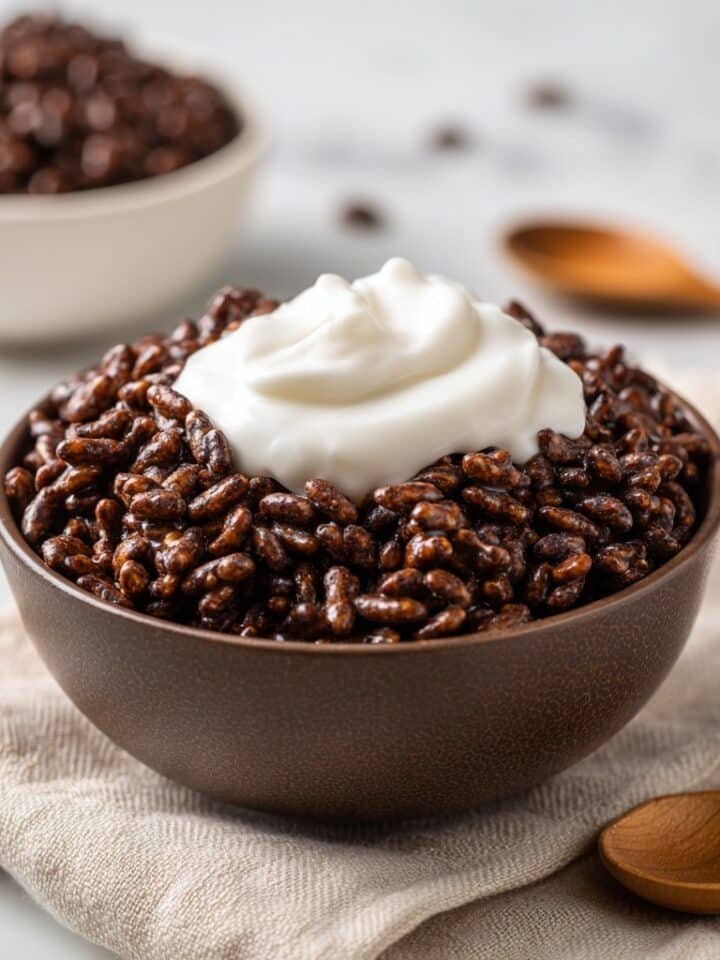
Topping your mini cheesecakes with a dollop of whipped cream adds lightness and creaminess that complements the slightly tangy filling. Sprinkle some festive Valentine sprinkles to amp up the celebration vibe and add a pop of texture. I love this detail-it turns a simple cheesecake into a charming statement that's unmistakably special.
Pairs Nicely With
Pair these mini cheesecakes with a cup of freshly brewed coffee or a glass of sparkling rosé to balance out the creaminess. A few fresh raspberries or a light berry coulis on the side works beautifully to add brightness and contrast to each bite.
Simple Plating Upgrades
For a quick upgrade, arrange your mini cheesecakes on a pretty platter with edible flowers or fresh mint leaves. Drizzling a little melted dark chocolate or dusting powdered sugar can transform these treats from everyday to memorable without much extra fuss.
Make-Ahead & Storage
Storing Leftovers
Store leftover mini cheesecakes in an airtight container in the fridge for up to 4 days. They'll maintain their creamy texture but you'll want to top with whipped cream fresh before serving for the best presentation.
Freezer Tips
These cheesecakes freeze well! Wrap each tightly in plastic wrap and place in a freezer-safe container. Freeze up to 2 months. To thaw, move to the fridge overnight so they defrost gently, preserving their smooth texture.
Reheating Mini Valentine's Cheesecakes Recipe Without Drying Out
If you want them warm, gently heat in the microwave for 10-15 seconds, covered loosely with a damp paper towel to keep moisture in. Avoid over-heating or using a dry oven method, as that risks drying out the delicate filling you worked so hard to perfect.
Frequently Asked Questions
Absolutely! Graham cracker crumbs work well too but will offer a less chocolatey, more classic cheesecake flavor. Just be sure to pulse finely and mix with melted butter for the crust to hold together nicely.
Avoid overmixing your batter and do not overbake. The slight jiggle in the center at the end of baking is key. Cooling gradually and chilling overnight also reduce cracking.
You can try substituting with dairy-free cream cheese and a plant-based butter alternative but results might vary slightly in texture and flavor.
Start with 4-5 drops and mix well, then add more gradually until you reach your desired rosy tone. It's easier to add than to fix if the color gets too dark.
Final Thoughts
Making this Mini Valentine's Cheesecakes Recipe became a little tradition in my kitchen for sweetening up winter evenings and celebrating special moments quietly at home. It's satisfying to pull these creamy delights from the fridge, each one perfectly portioned and inviting. With just a handful of ingredients, you'll captivate hearts and cravings alike - whether you're baking for friends, family, or yourself. Trust me, once you try them, these mini cheesecakes will become your go-to for fuss-free, delicious dessert magic.
PrintPrintable Recipe
Mini Valentine's Cheesecakes Recipe

These Mini Valentine Cheesecakes are a delightful, festive treat perfect for celebrating love. Featuring a crunchy Oreo crust and a creamy, pink-hued cheesecake filling, these bite-sized desserts are easy to make and decorate with whipped cream and Valentine-themed sprinkles for an extra touch of sweetness.
- Prep Time: 20 minutes
- Cook Time: 15-17 minutes
- Total Time: approximately 4 hours (including chilling time)
- Yield: 12 mini cheesecakes
- Category: Dessert
- Method: Baking
- Cuisine: American
Ingredients
Crust
- 1 cup Oreo crumbs
- 2 ½ tablespoons butter, melted
Filling
- 2 (8 oz) packages cream cheese, softened
- ½ cup sugar
- 2 large eggs
- 1 teaspoon vanilla extract
- Red food coloring (to achieve desired pink color)
Toppings (optional)
- Whipped cream
- Valentine sprinkles
Instructions
- Prepare the oven and pan: Preheat your oven to 350°F (175°C) and line a cupcake pan with paper liners to ensure easy removal and clean presentation.
- Make the crust: Pulse Oreo cookies in a food processor until they turn into fine crumbs. Mix the crumbs with the melted butter until well combined.
- Form the crust base: Divide the Oreo mixture evenly among the cupcake liners, pressing down firmly to create a compact crust layer in each cup.
- Mix the filling: In a large bowl, beat the softened cream cheese and sugar together until smooth and creamy. Add the eggs one at a time along with the vanilla extract, blending thoroughly after each addition.
- Add color: Gradually add red food coloring to the cheesecake batter, mixing until you reach the desired shade of pink for a festive Valentine's look.
- Fill the cups: Spoon the cheesecake batter over the Oreo crusts in each liner, filling them nearly to the top.
- Bake: Place the cupcake pan in the oven and bake for 15-17 minutes. The center should still jiggle slightly when you gently shake the pan, indicating they are perfectly baked.
- Cool and chill: Allow the mini cheesecakes to cool completely in the pan, then refrigerate for several hours or until set firmly.
- Decorate: Before serving, top each cheesecake with a dollop of whipped cream and sprinkle Valentine-themed sprinkles for a charming finish.
Notes
- Ensure cream cheese is softened to room temperature for a smooth batter and even baking.
- Do not overbake; the centers should jiggle slightly to keep a creamy texture.
- Use cupcake liners to prevent sticking and make serving easier.
- Customize the red food coloring amount to adjust the intensity of the pink color.
- For a gluten-free version, use gluten-free sandwich cookies instead of Oreos.


Leave a Reply